Managing App Permissions
JetTime permissions are managed using Jira’s global permissions, ensuring seamless integration and secure access control. To define who can access and manage JetTime features, you’ll need to configure the appropriate permissions in Jira’s system settings and organize users into relevant groups.
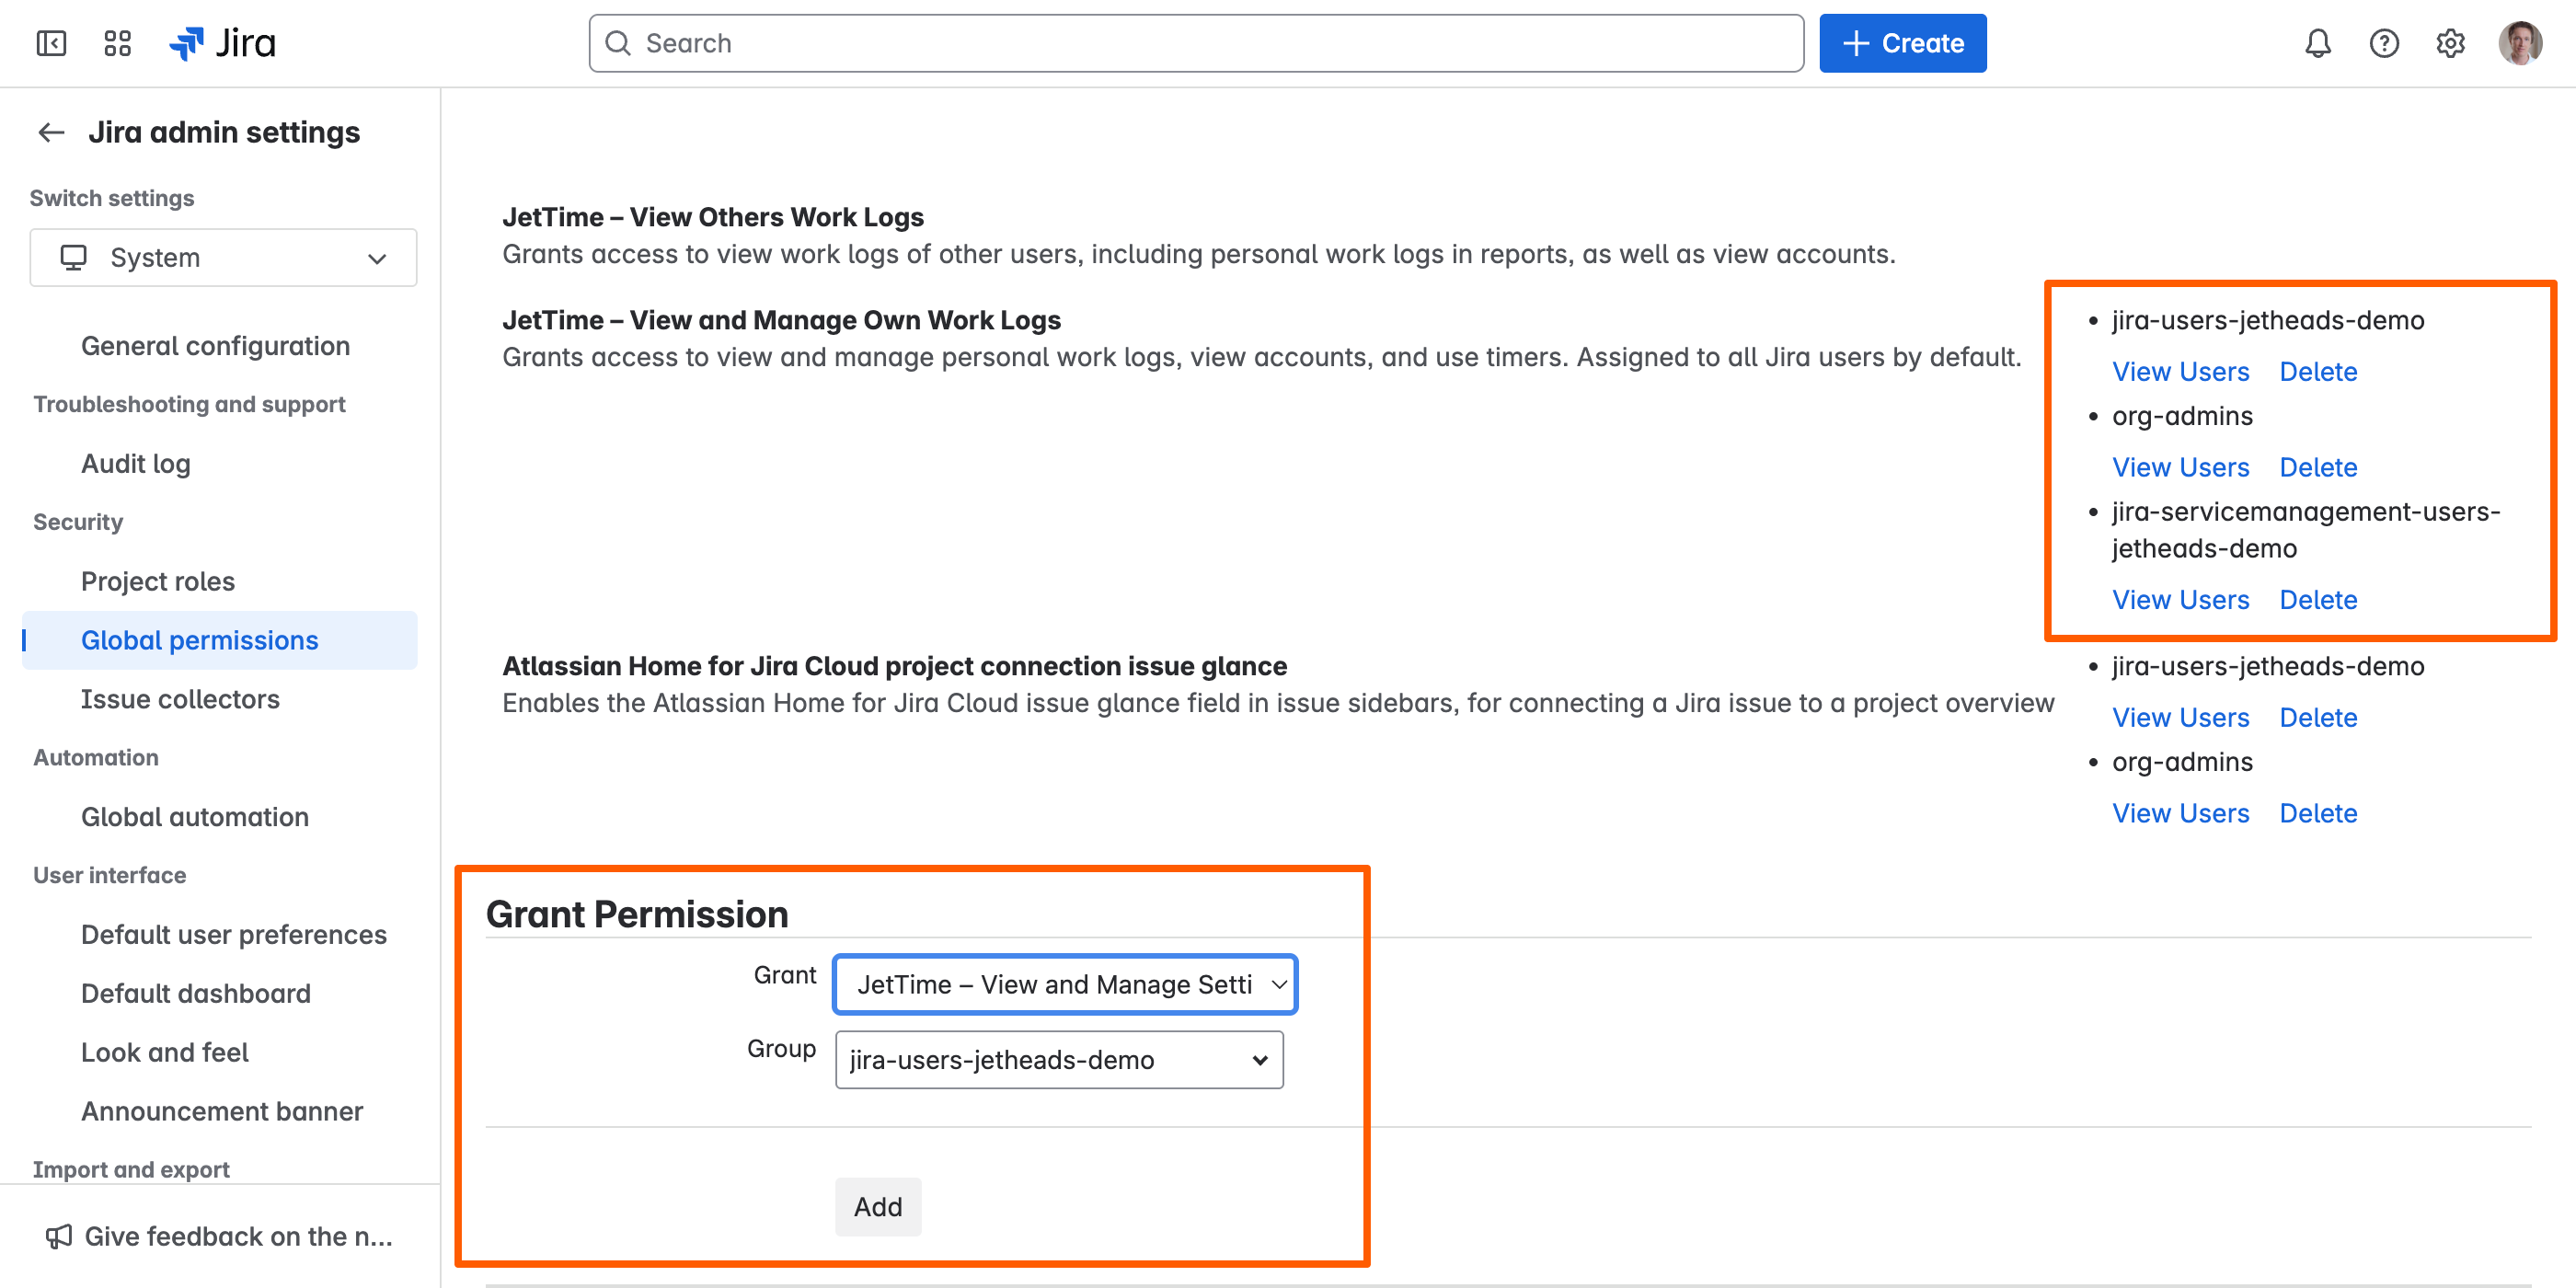
Where to Configure Global Permissions
You can manage global permissions in Jira by following these steps:
- Access Jira’s Global Permissions Settings: Log in as a Jira administrator, go to Jira Administration by clicking the Settings (gear) icon, and select System.
- Open Global Permissions: In the System settings, navigate to the Security section and click on Global permissions.
- Manage Permissions: Locate the JetTime-specific permissions in the list and assign them to the appropriate user groups using the form at the bottom of the page.
How Global Permissions Are Applied
Global permissions in Jira are applied to user groups. Before configuring JetTime permissions, ensure that your users are organized into the correct groups in Jira. Each group should reflect your team’s structure and roles, such as administrators, managers, or team members, enabling precise control over who can access specific JetTime features.
You can manage user groups in Jira by:
- Accessing User Management: Navigate to Jira Administration, select User Management, and create or modify groups based on your team’s needs.
- Adding Users to Groups: Assign each user to the appropriate group to ensure they inherit the required JetTime permissions.
JetTime Permissions and Jira Built-In Permissions
JetTime applies its own Jira global permissions on top of Jira’s built-in permissions for work log management. This means that having the correct JetTime permissions alone may not be sufficient to perform certain actions like logging, editing, or deleting work logs.
Ensure that your Jira built-in permissions are correctly configured in addition to JetTime-specific settings. Consult your Jira administrator for assistance with setting up these permissions.
JetTime Permissions Overview
Below are the JetTime-specific Jira global permissions available and their purposes:
- JetTime – Full Access: Grants full access to all JetTime features and capabilities. This permission is assigned to all Jira administrators by default.
- JetTime – View and Manage Own Work Logs: Allows users to view and manage their personal work logs, view accounts, and use timers. This permission is assigned to all Jira users by default.
- JetTime – View Others Work Logs: Enables users to view the work logs of other users, including personal work logs in reports, and view accounts.
- JetTime – View and Manage Others Work Logs: Provides access to view and manage work logs of other users, including editing and managing personal work logs in reports and viewing accounts.
- JetTime – View and Manage Accounts: Grants access to view and manage accounts for better organization and tracking.
- JetTime – View and Manage Periods: Provides access to view and manage work periods, ensuring proper tracking over specific timeframes.
- JetTime – View and Manage Settings: Allows configuring and managing all JetTime settings.
Default Permissions After Installation
By default, JetTime assigns the following permissions immediately after installation:
- JetTime – Full Access: Automatically assigned to the default Jira admins group, giving Jira administrators full control over all JetTime features.
- JetTime – View and Manage Own Work Logs: Assigned to all regular Jira users, allowing them to manage their own work logs, view accounts, and use timers.
If needed, you can modify these default permissions in the Global permissions settings as described above.
Tips for Organizing Permissions
To make the most of JetTime’s permissions, follow these best practices:
- Define Roles Clearly: Create user groups that represent distinct roles in your organization, such as “Team Members,” “Project Managers,” and “Administrators.”
- Assign Permissions Strategically: Map permissions to only the groups that need them. For example, restrict “Full Access” to administrators and grant “View and Manage Own Work Logs” to team members.
- Review Permissions Periodically: Regularly audit which groups and users have access to JetTime features to ensure compliance and maintain security.