Exporting Reports to PDF
JetTime allows you to export reports to PDF format for sharing, printing, or archiving. The export process uses a browser’s built-in “Print → Save as PDF” functionality to ensure you get a clean and formatted output.
How to Export a Report to PDF
Follow these steps to export your report to PDF:
- Navigate to the Reports section in JetTime and open the report you wish to export. Make sure the selected report is built and contains data.
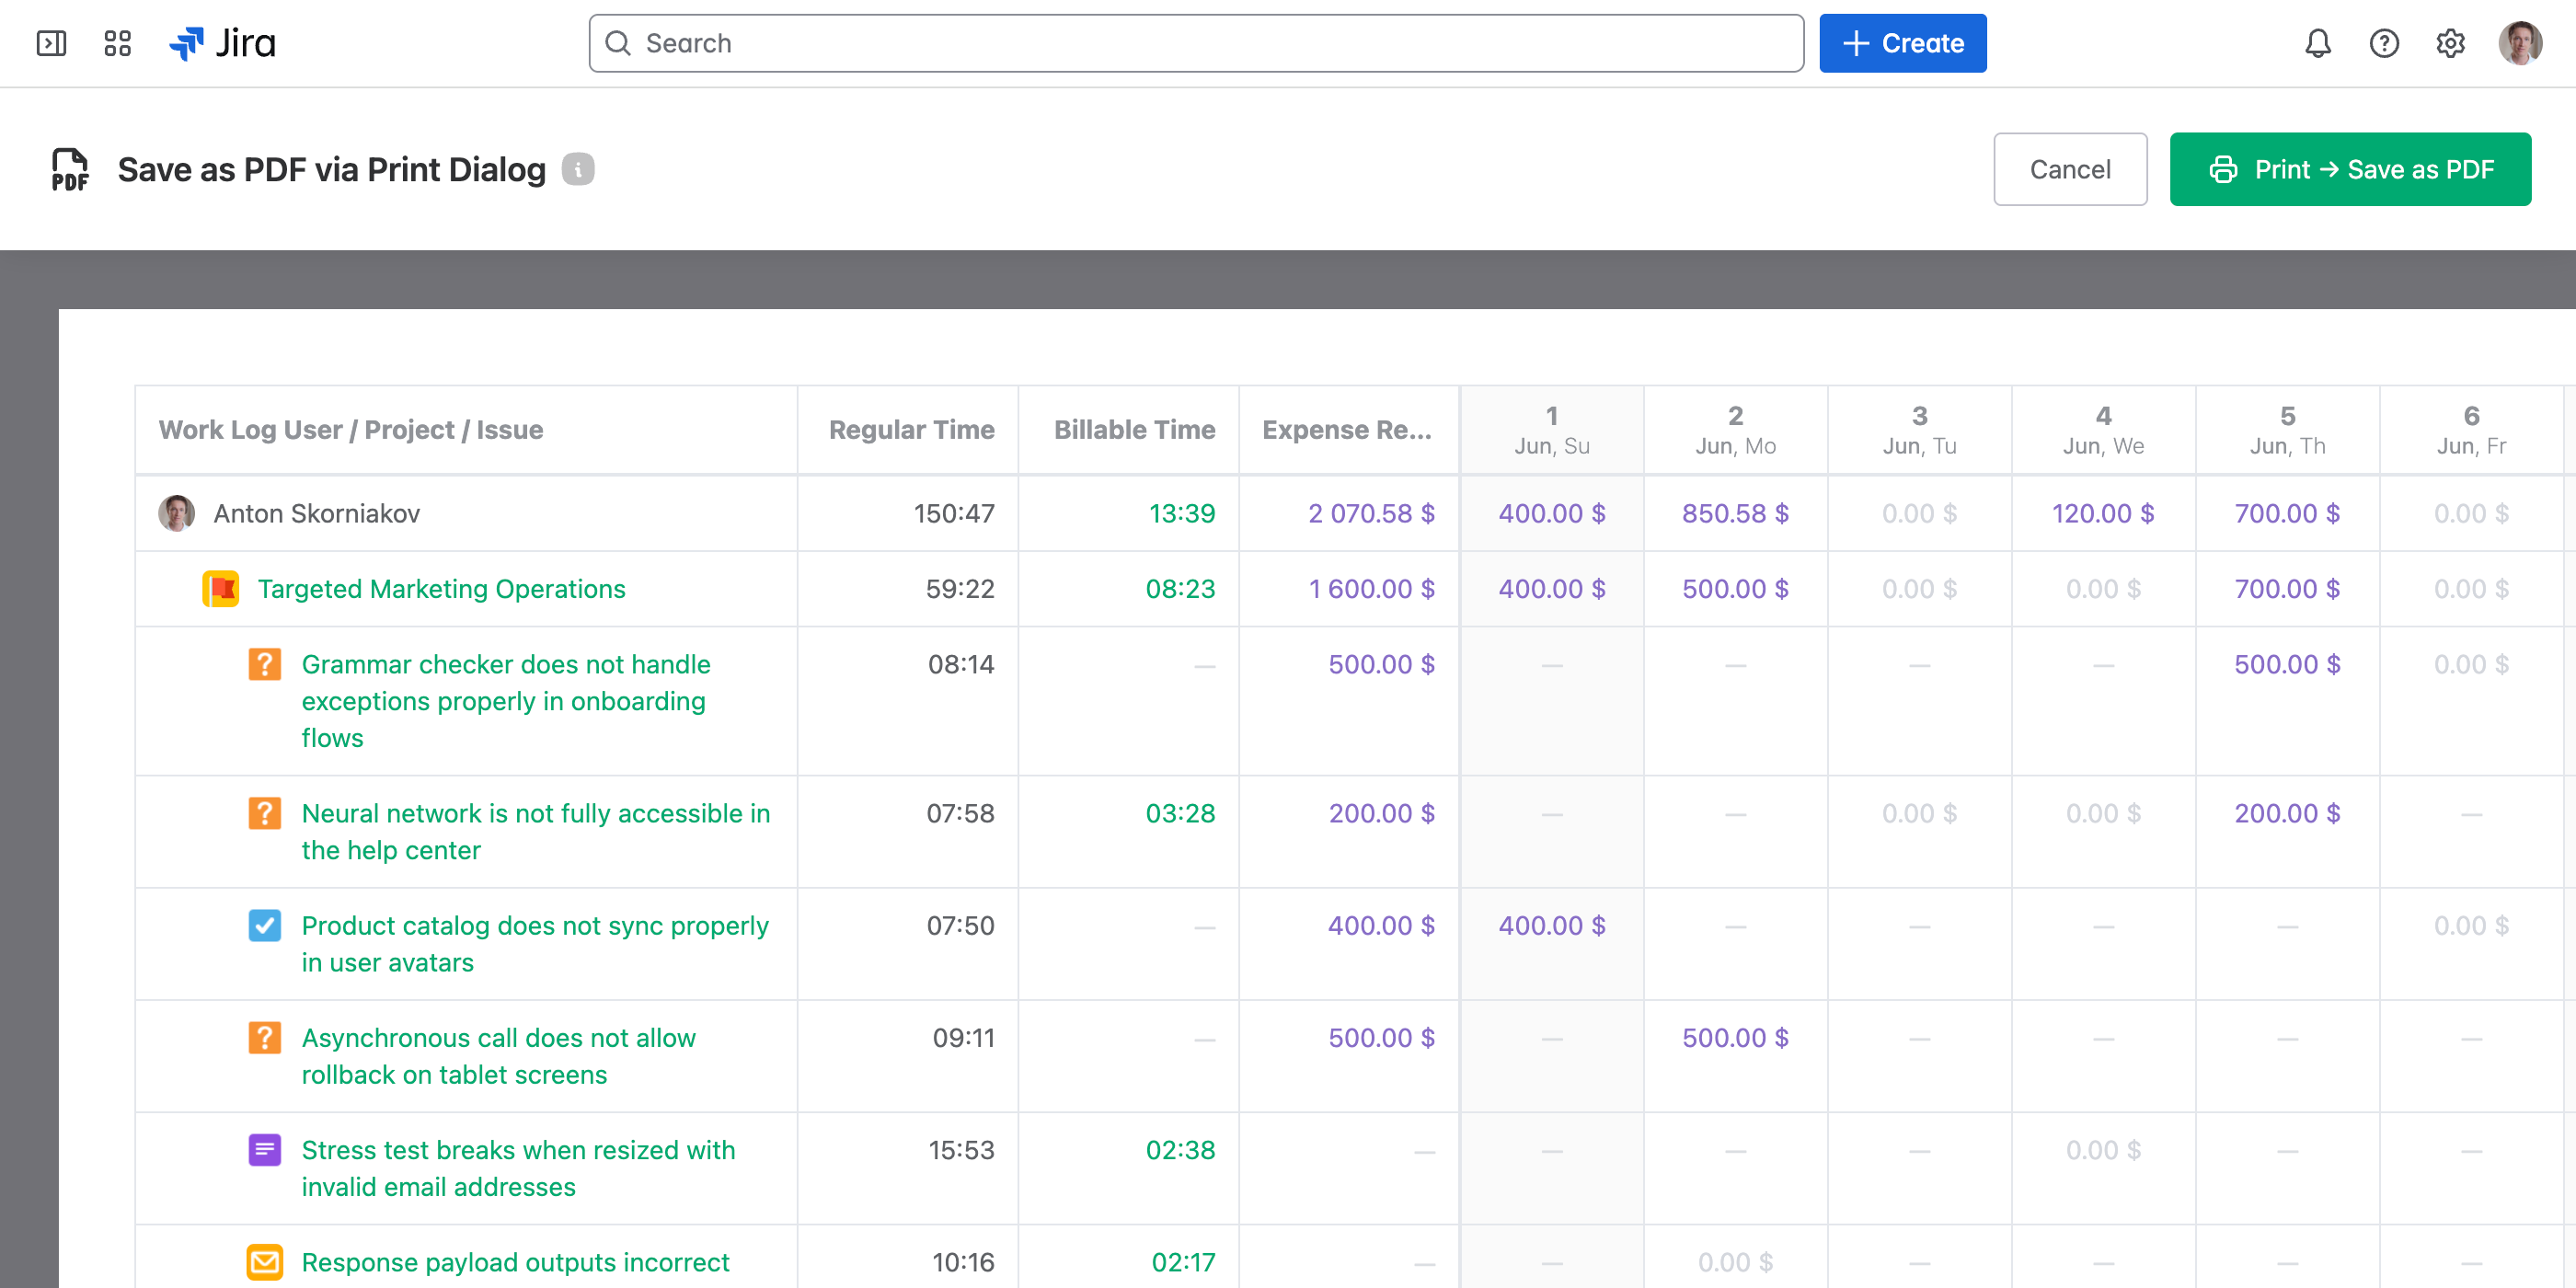
- Click the Export button and select Export to PDF. A specially formatted “Print Mode” view of your report will open.
- Click the Print → Save as PDF button in the print header. This will open your browser’s print dialog.
- In the browser’s print dialog, choose Save as PDF as the destination.
- Adjust settings like scaling to ensure the content fits correctly:
- Enable or disable background colors based on your preferences.
- Adjust the scaling factor if the content overflows or does not align properly.
- Click Save to download the PDF file.
Tips for a Perfect Export
- Ensure your report settings (e.g., filters, grouping, or columns) are finalized before exporting.
- If your report includes many columns, switch the page orientation to Landscape in the print dialog for a wider layout.
- Preview the scaling to ensure all content fits neatly on the page.
Use Cases for PDF Export
Exporting reports to PDF is helpful in various scenarios:
- Sharing Reports: Share polished, static versions of reports with team members or stakeholders.
- Presenting Reports: Include PDF versions of reports in project presentations.
- Archiving Reports: Save detailed and professional reports for record-keeping or compliance.
Next Steps
For other export options, check out Exporting Reports to Excel or Exporting Report Work Logs to CSV.
To further refine your reports, explore customizing reports or using filters in JetTime.